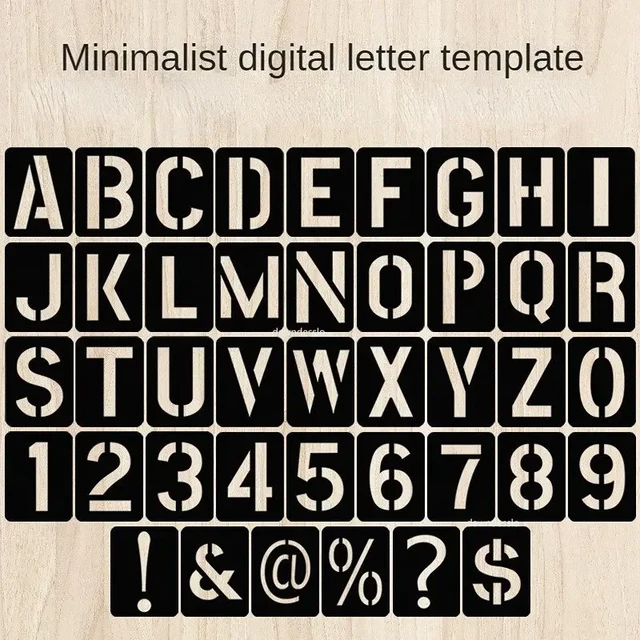
Printable Alphabet Letter Stencils: Unleashing Creativity and Precision
In the realm of creativity and precision, printable alphabet letter stencils emerge as invaluable tools. These versatile templates empower individuals of all skill levels to effortlessly craft eye-catching lettering, transforming mundane surfaces into works of art. Whether you’re an educator seeking innovative teaching aids, a crafter yearning for personalized embellishments, or a designer striving for impeccable typography, printable alphabet letter stencils offer endless possibilities.
With their adaptability and ease of use, printable alphabet letter stencils have become indispensable in a myriad of applications. From adorning classroom walls with motivational quotes to personalizing handmade gifts with heartfelt messages, these stencils provide a foolproof method for adding a touch of elegance and originality to any project.
Printable Alphabet Letter Stencils

Yo, check it! Printable alphabet letter stencils got you covered when you need to drop some knowledge on paper. These bad boys are the bomb for customizing your ride, adding a touch of street cred to your crib, or just letting the world know what’s up.
Whether you’re a budding Banksy or just want to add some flavor to your daily grind, these stencils are the key to unlocking your creative potential. So, let’s dive right in and see how to use these sick tools.
Step 1: Get Your Stencil Game On
First off, grab yourself some printable alphabet letter stencils. You can find them online or at your local art supply store. Make sure you choose the right size and style for your project.
Step 2: Prep Your Surface
Now, it’s time to get your surface ready. Whether it’s a wall, a canvas, or your best mate’s ride, make sure it’s clean and dry. If you’re working on a dark surface, consider using a light-colored primer to make your letters pop.
Step 3: Align and Secure
Once your surface is ready, it’s time to align your stencil. Use painter’s tape or masking tape to secure it in place. Make sure it’s straight and level, or your letters will come out wonky.
Step 4: Apply the Paint
Now for the fun part! Dip your brush or sponge into your chosen paint and dab it onto the stencil. Use even pressure and avoid overloading the brush, or you’ll end up with messy letters.
Step 5: Remove the Stencil
Once you’ve applied the paint, carefully remove the stencil. Start from one corner and slowly peel it back. If you rush it, you might smudge your fresh paint.
Step 6: Let It Dry
And there you have it! Your customized letters are now in place. Let the paint dry completely before you start admiring your masterpiece or cruising down the street with your newly decorated ride.
Tips for Pro Stencilers
- Use different colors and paint textures to create unique effects.
- Layer stencils to create multi-dimensional designs.
- Practice on a scrap piece of paper before you start on your final project.
- Don’t be afraid to experiment with different techniques and materials.
- Clean your stencils after each use to keep them in tip-top shape.
Final Thoughts
Printable alphabet letter stencils are a sick way to add some street cred to your life. They’re easy to use, affordable, and the possibilities are endless. So, grab a stencil and let your creativity run wild!
Answers to Common Questions
What materials are printable alphabet letter stencils made of?
Printable alphabet letter stencils are typically crafted from durable materials such as plastic, vinyl, or cardstock, ensuring longevity and multiple uses.
How do I customize printable alphabet letter stencils?
Customization options abound with printable alphabet letter stencils. Utilize design software to alter font styles, sizes, and colors, creating unique and personalized templates that align with your specific needs.
What techniques ensure precise stencil usage?
To achieve crisp and clean results, secure the stencil firmly in place, apply paint or ink evenly, and carefully remove the stencil to avoid smudging.